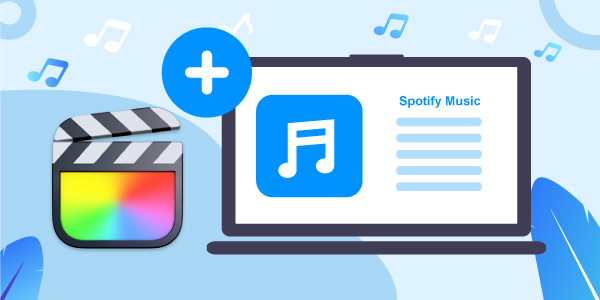
Final Cut Pro video editing software is a great video editing application. It has built-in tools and dozens of bundled plug-ins for altering background audio, which is one of the most significant aspects of professional video processing. Final Cut Pro combines high-performance digital editing and native support for practically any video file with easy-to-use and time-saving features that allow you to focus on narrative. It targets both individuals who desire more power for their video-editing projects and professionals who develop content for professional videos.
On the other hand, Spotify music as we all know is one of the largest and most popular music platforms. It comes with a music collection of 70 million songs for the user to listen to. However, due to a restriction, audio from prominent music sites such as Spotify cannot be freely imported into Final Cut Pro. That’s why video editors and Spotify music fans need to figure out how to get around this inconvenient constraint so they may alter and play Spotify tracks more flexibly.
So, how can you use Spotify music in Final Cut Pro as background audio without any restrictions? The next instructions will show you how to use a sophisticated third-party program called AudFun Spotify Music Converter to convert Spotify music, download and add Spotify to Final Cut Pro without any limitations.
- Part 1. Getting Spotify Songs into Final Cut Pro – Best Tool
- Part 2. Download Spotify for Final Cut Pro Step-by-step
- Part 3. Add Music from Spotify to Final Cut Pro
- Part 4. Conclusion
Part 1. Getting Spotify Songs into Final Cut Pro – Best Tool
Many customers use Spotify to import music into Final Cut Pro because of the high-resolution sound quality. However, Spotify music is not accessible in Final Cut Pro, and it all comes down to the format. Spotify, on the other hand, is renowned for its strong encryption, which assures that Spotify customers may only listen to its music via the Spotify app or web browser. To add Spotify music to editing software like Final Cut Pro, you must first download and convert it to a useable format.
For all Spotify free and premium users, AudFun Spotify Music Converter is a professional and functional music downloader and converter. It allows you to download Spotify songs, playlists, podcasts, audiobooks, albums, and many more. Likewise, it focuses on converting Spotify to MP3 and a variety of audio formats, including FLAC, WAV, etc.
AudFun Spotify Music Converter for Final Cut Pro
- Spotify music can be downloaded with the lossless audio quality preserved
- Spotify music can be converted to MP3/AAC/FLAC/WAV and various other formats
- After converting, it keeps the ID3 tags information of the music
- Spotify music can be saved indefinitely for offline listening
- You’ll get free updates and technical assistance
You can listen to music offline on all devices while on the go, thanks to this incredible Spotify music converter and downloader. Let’s look at how to utilize this tool to fast download, convert and add Spotify to Final Cut Pro. Before you begin, make sure you have the correct version of AudFun Spotify Music Converter installed on your Mac or PC.
Part 2. How to Download Spotify for Final Cut Pro Step-by-step
Step 1 Get the AudFun software and install it
When you click the Download button of AudFun Spotify Music Converter, the package will be downloaded automatically. To install AudFun Spotify Music Converter on your computer, select the open when the installation is finished. You can then run it from your computer’s desktop. Then you will notice that the Spotify app launched also. If not, please check whether the Spotify app is properly installed on your computer.
Step 2 Sign up with AudFun Spotify Music Converter and activate it
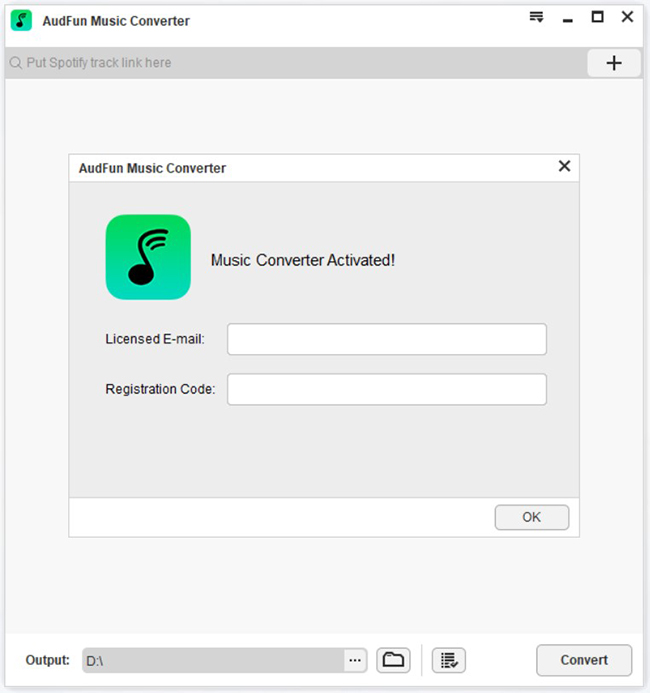
AudFun Spotify Music Converter’s free trial version only allows you to download the first 60 seconds of each Spotify track. To eliminate this restriction, consider purchasing and activating the full version. On a PC, go to the top-right menu bar, or on a Mac, go to the top-left menu bar and select AudFun Spotify Music Converter for Mac. Then you can locate and select the Buy option. Once finished purchased. Back to the menu and choose Register to enter your licensed email address and activation credentials.
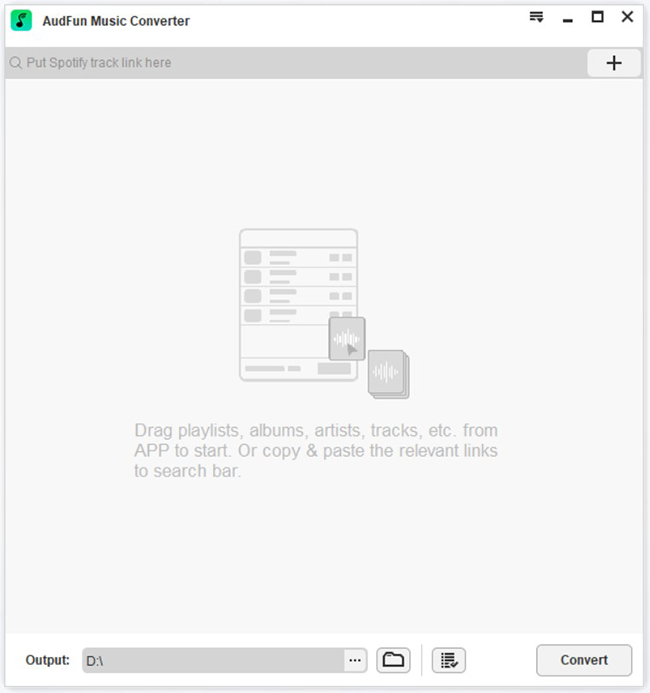
Step 3 Upload your favourite Spotify songs, playlists, and albums to AudFun
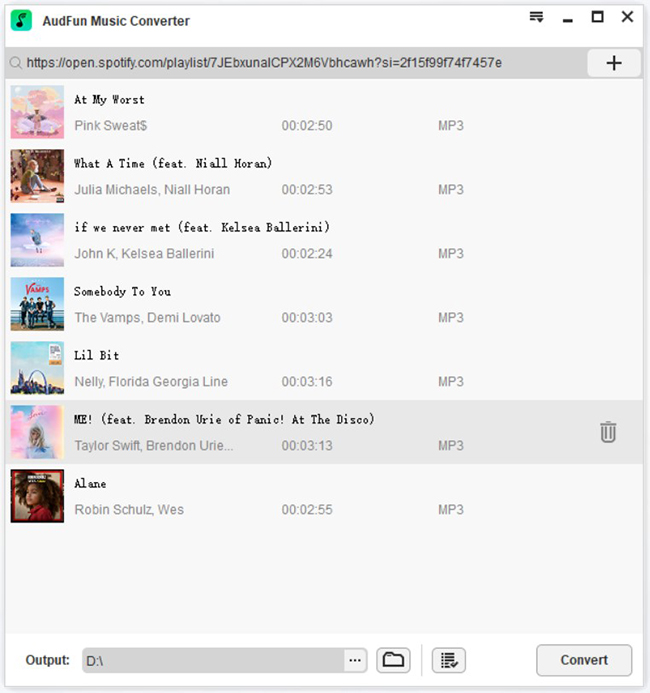
Simply use the Spotify desktop interface to find and download songs that you’d like to convert to MP3 in the first place. Then tap the item once you’ve discovered it and select the … > Share option. To copy the Spotify URL, use the Copy Spotify Link option.
The AudFun Spotify Music Converter interface has an address bar. Just paste it here and press the add button to load them. You can also just drag and drop songs from different playlists or albums into this tool if you have already had a favorite playlist.
Step 4 Modify Spotify’s audio output formats for Spotify to Final Cut Pro
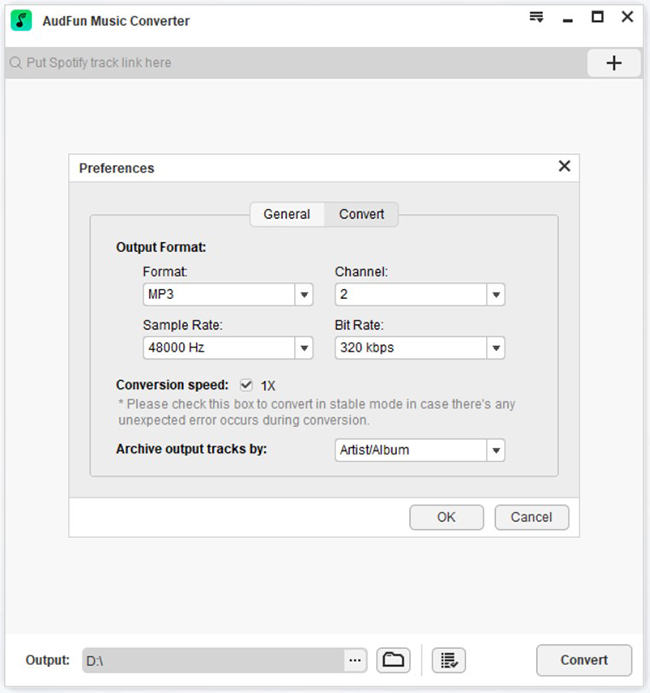
To open the setting window, return to the Mac or PC’s Menu bar and select Preferences > Convert from the drop-down menu. Spotify’s output format can now be changed to MP3, FLAC, WAV, M4A, M4B, or AAC. You may also configure other output characteristics such as bit rate and sampling rate, as well as categorize output recordings by artists or albums, for a better music listening experience on Final Cut Pro.
Step 5 Download and convert Spotify for Final Cut Pro
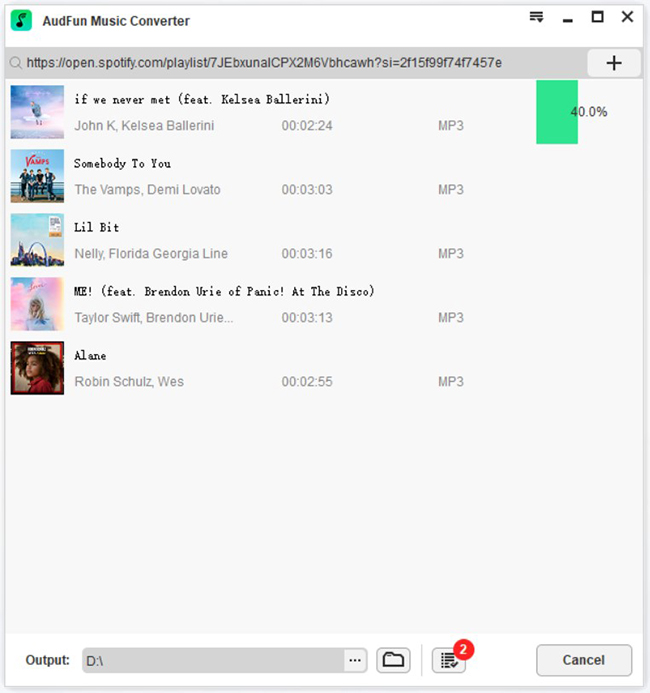
Select the OK button to confirm all the changes you’ve made so far. To begin the converting process, click the large Convert button in the bottom-right corner of this software. It will download and convert Spotify tracks to the computer according to your preferences. It can locate all offline Spotify tracks on your computer’s target folder after conversion.
You can now download them to any device and listen to them while you’re not connected to the Internet. Getting Spotify songs into Final Cut Pro through these steps is the easiest procedure available online.
Part 3. How to Add Music from Spotify to Final Cut Pro
You’re only a few clicks away from adding the supported format of Spotify to Final Cut Pro editor once you have access to the converted Spotify music folder. To add Spotify to Final Cut Pro, follow these procedures.
Step 1: Find the photos and audio sidebar from Final Cut Pro
Click on the Photos and Audio button of the top-left corner on the Final Cut Pro screen. Then select Windows > Go To > Photos and Audio from the drop-down menu.
Step 2: Select and add music to Final Cut Pro
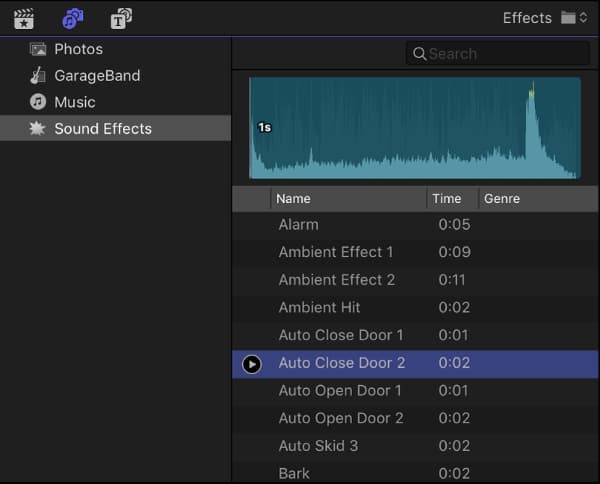
Select the music clips you want to add to the Final Cut Pro software from the Photo and Audio sidebar by clicking Music. You can also use the Sound Effects found in the Photos and Audio sidebar. Select Sound Effects > Final Cut Pro Sound Effects > Impact & Crashes from the Sound Effects menu.
Step 3: Getting Spotify songs into Final Cut Pro
Now Spotify songs can be viewed and chosen. After that, drag the sound clip to the timeline in Final Cut Pro. Finally, select a playlist or track to display from the Music pop-up menu.
Part 4. Final Thoughts
Adding Spotify to Final Cut Pro as background music is no longer a difficult task with the help of AudFun Spotify Music Converter. The Spotify music and tracks will be converted and downloaded to a local folder on your Mac or PC with only a few clicks and this article answers the most repeated questions like how to add music from Spotify to Final Cut Pro? and how to move music from Spotify to Final Cut Pro.
After that, you’ll be able to import your Spotify playlists into Final Cut Pro. With such a simple technique to make your video more advanced and appealing, what are you waiting for? Let’s get started on this new video-making adventure!